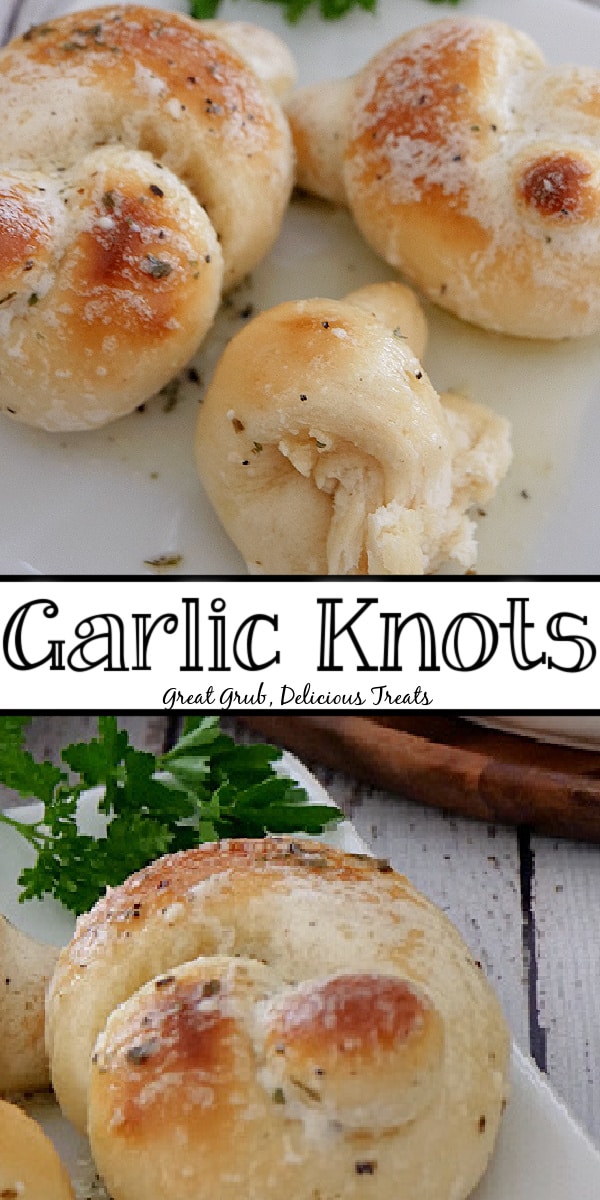
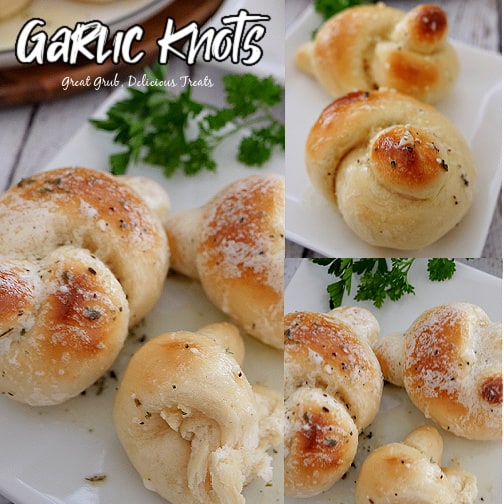
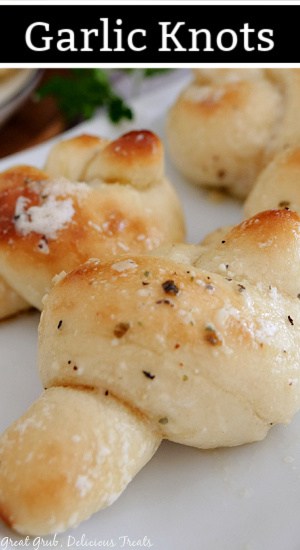
Garlic Knots are the perfect complement to any delicious Italian dish. These homemade, warm, buttery, parmesan garlic knots are just what you need to soak up your favorite sauce or enjoy with a salad. Strips of dough tied into a knot began as a way to use leftover pizza dough.
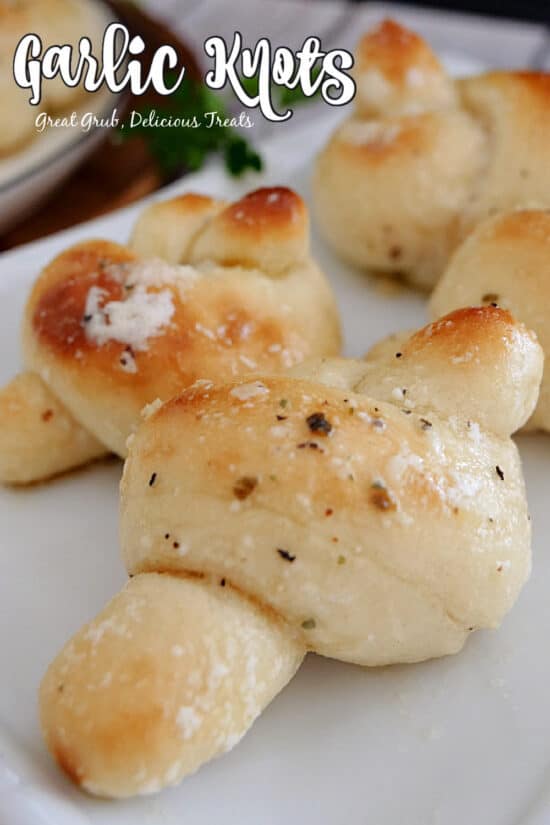
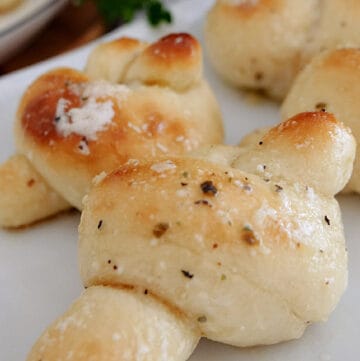
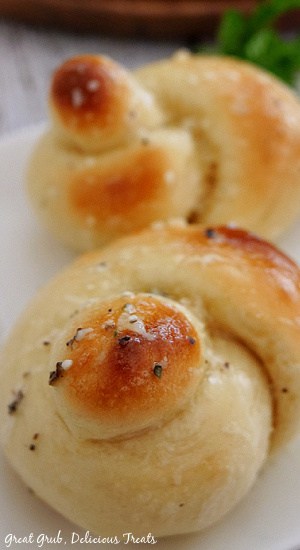
These perfect sized little knots are entirely homemade from scratch. Warm and chewy on the inside and baked until golden then brushed with an aromatic parmesan garlic butter. Absolutely scrumptious.
Let the Yeast Proof
This is considered the first rise. Proofing (or blooming) yeast can be pretty straight forward. Mix the active yeast, warm water, sugar and oil together and be patient. Let the yeast proof for about 10 minutes, or until the top is bubbly. If after 10-15 minutes you do not see bubbles, the yeast is dead. Begin again with a new packet of yeast.
How to store garlic knots
No need to refrigerate these gratifying, mouth watering garlic knots. Store these beauties in an air tight container or in a zip lock baggy at room temperature. If stored properly, garlic knots will last two to three days on the counter or in the pantry.
Freezing the garlic knots
Garlic knots can be frozen after being baked and then saved for another night. Let the knots cool completely and place them in an air tight container or zip lock baggy. Afterwards, place the garlic knots in the freezer. The baked knots will last up to 2 months frozen. When you’re ready to consume these delectable knots, remove them from the freezer and place the container or zip lock bag on the counter top. Let the knots reach room temperature and reheat in the microwave 5 to 10 seconds or in the oven at 425 degrees for 2 to 3 minutes.
Make ahead of time and refrigerate
Prepare the dough and after placing it in the greased bowl, cover the bowl loosely with plastic wrap or foil. Let the dough do its second rise in the fridge placing the bowl in the chilled space for 8 to 12 hours. When you are ready to form your knots, remove the bowl and bring the dough to room temperature and proceed as you would if you were just beginning.
Freezing the dough
If you are anything like me, there is not enough time in the day as is. Prepping myself for success is always at the top of my to do list. This easy recipe can be made in sections. The dough can be made ahead of time and frozen for another day. Prepare the knots all the way through the recipe instructions up to the point of baking. Once the knots are formed and laying in its resting place, cover the entire baking sheet with plastic wrap and flash freeze these divine knots. Flash freezing involves a quick freeze placing the knots in the freezer for one to two hours.
Once frozen, remove the knots from the freezer. Place the knots in an air tight container or zip lock bag as you would for any other storing and replace them back in the ice box for a longer freeze. Can freeze for up to 3 months.
Thawing the garlic knots will have you feeling like you’re making them from scratch all over again by baking the dough originally made. Remove the knots from the freezer and place them on a baking sheet that has been spray with a non-stick cooking spray. Then bake as you would if they were freshly made. Cover the knots on the pan loosely with plastic wrap and let the knots thaw and rise on the countertop for an hour and a half to two hours.
Baking the dough
When you are ready to fill your home with the aromatic scents of fresh baked bread and buttery garlic, remove the plastic wrap and place it in the oven at 425 degrees for 8 to 10 minutes.
The parmesan garlic butter
This is probably the easiest, most delicious parmesan garlic butter you can imagine. Melting the butter in the microwave is fool proof. Once melted, add the parmesan cheese, basil and garlic salt. No need to chop or mince whole garlic cloves. Brushing this warm garlic butter on to the top of the hot, fresh out of the oven knots will bring every scent into action.
Garlic Knots on the side
Garlic knots are the perfect addition to many dishes. These buttery knots of crispy perfection pair obviously well with the classic spaghetti and meatballs, lasagna or a chicken alfredo. Any meal that bread goes with is perfect.
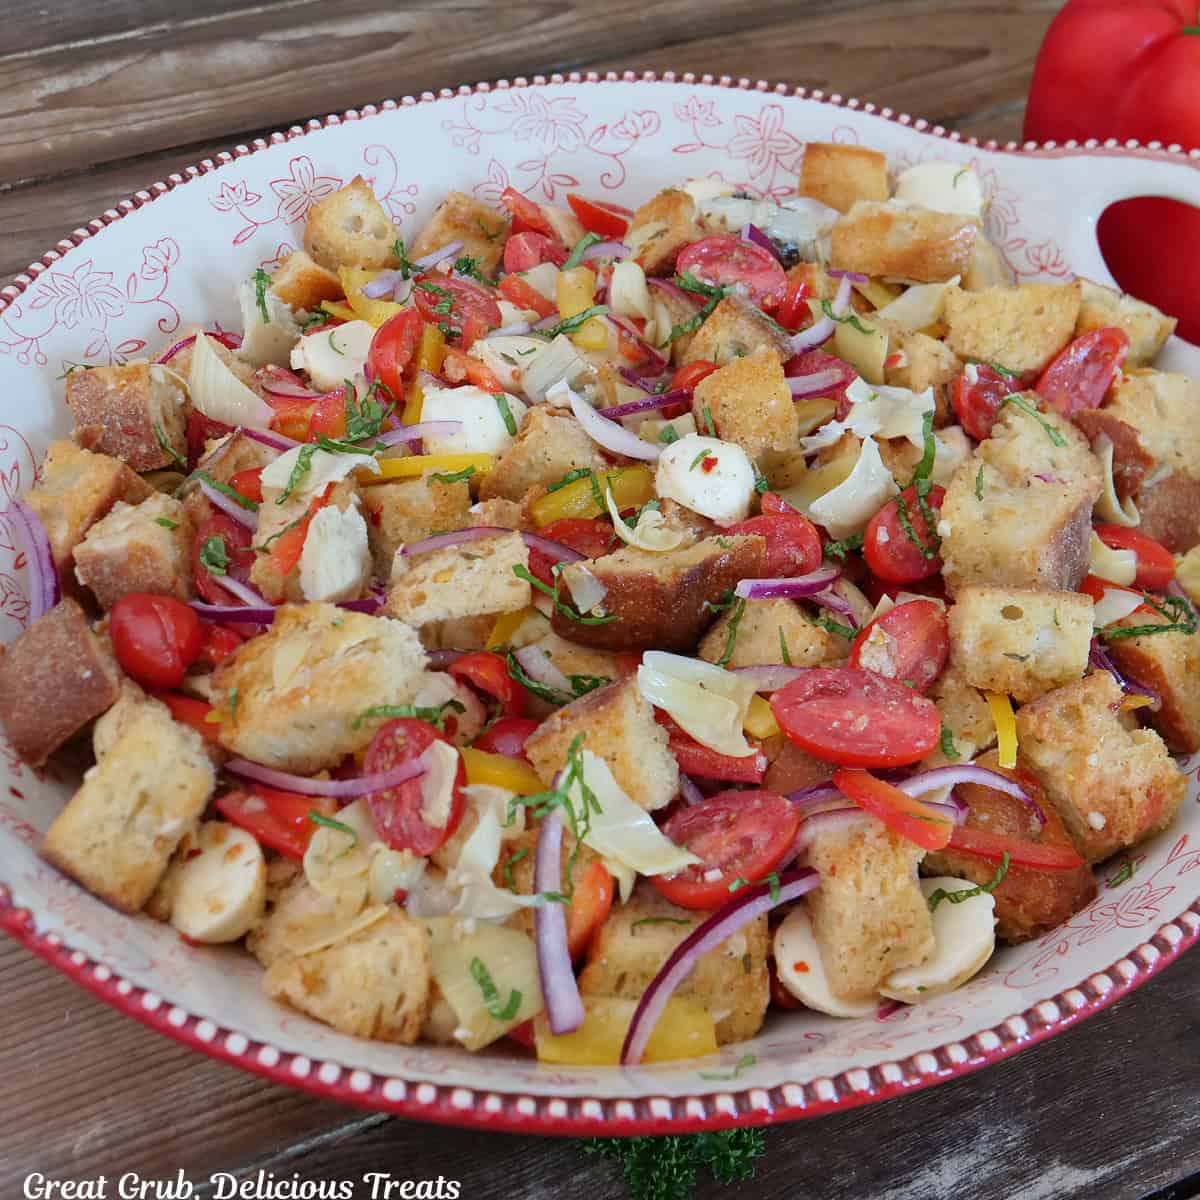
If you are looking for some balance, garlic knots are also delicious when paired with salads. Ranging from a cherry tomato and mozzarella salad, drizzled with balsamic vinaigrette to a three-bean salad or the classic Caesar salad, there isn’t an Italian dish these garlic knots wouldn’t be the ideal finishing touch to.
These appetizing knots are full of flavor that doesn’t need a sauce to be eaten with while adding the perfect pairing bite to all Italian dishes from small to large. These knots are easy to make ahead or fresh the day of your Sunday family dinner. You can not go wrong with these pallet pleasers.
Ingredients to Make Garlic Knots
- Active Dry Yeast
- Warm water
- Olive oil
- Sugar
- Egg
- Salt
- Flour
- Butter, melted
- Parmesan cheese
- Basil
- Garlic salt
How to Make Garlic Knots
- Prepare a baking sheet by spraying with a non stick cooking spray. Set aside.
- In a large bowl, stir yeast, oil, and sugar into warm water.
- Let bloom for 10 minutes or until mixture becomes foamy.
- Next, whisk in egg and salt.
- Slowly add flour until a smooth dough forms.
- Roll dough into a ball and place in a greased bowl. Let rise for about an hour, or until dough has doubled in size.
- Preheat oven to 425°.
- Next, transfer dough onto a well floured surface and knead until smooth and all of the air is out of the dough. Form back into a ball.
- Using a dough cutter, or knife, divide dough into 12 pieces.
- Now, roll each piece of dough into a ball and then roll out to desired length (approximately 5 to 6 inches long), and tie in a knot.
- Place knots onto prepared baking dish and let rise for 10 minutes.
- Place knots into oven and bake for 8-10 minutes or until the tops of knots are golden brown.
- While knots are baking, prepare your parmesan garlic butter.
- In a small , heat-safe bowl, melt butter in microwave and heat for 30-45 seconds.
- Next, add in parmesan cheese, basil, and garlic salt.
- Brush garlic knots generously with the butter parmesan mixture once removed from the oven.
Try These Garlic Knots Today
Here are a few more delicious bread recipes that can be found on the blog:
And here is a delicious Lasagna Soup recipe from Deliciously Seasoned that these garlic knots will pair nicely with.
Garlic Knots
Ingredients
- 2 pkgs active dry yeast
- 1 cup warm water
- 3 tbsp olive oil
- 3 tbsp sugar
- 1 egg
- 1½ tsp salt
- 3-3½ cups flour
- ¼ cup butter, melted
- ¼ cup Parmesan cheese
- 2 tsp garlic salt
- 2 tsp basil
Instructions
- Prepare a baking sheet by spraying with a non-stick cooking spray. Set aside.
- In a large bowl, stir yeast, oil, and sugar into warm water.
- Let bloom for 10 minutes or until mixture becomes foamy.
- Next, whisk in egg and salt.
- Slowly add flour until a smooth dough forms.
- Roll dough into a ball and place in a greased bowl. Let rise for about an hour, or until dough has doubled in size.
- Preheat oven to 425°.
- Next, transfer dough onto a well floured surface and knead until smooth and all of the air is out of the dough. Form back into a ball.
- Using a dough cutter, or knife, divide dough into 12 pieces.
- Now, roll each piece of dough into a ball and then roll out to desired length (approximetly 5 to 6 inches long), and tie in a knot.
- Place knots onto prepared baking dish and let rise for 10 minutes.
- Place in the oven and bake for 8-10 minutes or until the tops of knots are golden brown.
- While knots are baking, prepare your parmesan garlic butter.
- In a small , heat-safe bowl, melt butter in microwave and heat for 30-45 seconds.
- Next, add in parmesan cheese, basil, and garlic salt. Stir.
- Once knots are removed from the oven, brush generously with the butter parmesan mixture.
Notes
Nutrition
Here are a few pics that are perfect to pin to your favorite Pinterest boards.
Enjoy, Terri
Copyright © Great Grub, Delicious Treats. All content and images are copyright protected. Do not use any images without prior permission.
If you want to republish this recipe, make sure to re-write the recipe in your own words and only list ingredients making sure to link back to this post for the original recipe and directions.


Thank you, Terri! I made these to go with pasta sauce I made for tomorrow’s dinner. Easy to follow recipe, I only didn’t use the cheese.
Thank you for sharing Christine! I hope you enjoy them with your dinner tomorrow. Thanks for the 5-star rating too! :)
I am intimidated by anything with yeast, so I just want to make sure that my packets of yeast are the right size. A packet says 1/4 oz. is that the right size? Thanks.
Hi Laurel, yes those are the correct packets of yeast. I hope you do end up making these and enjoy them! :)