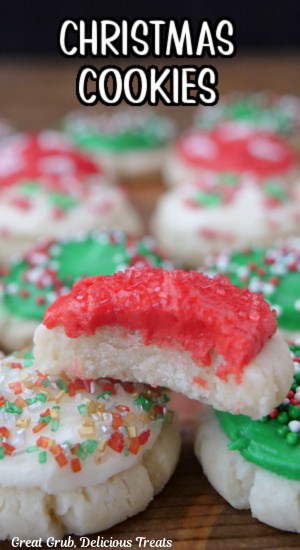
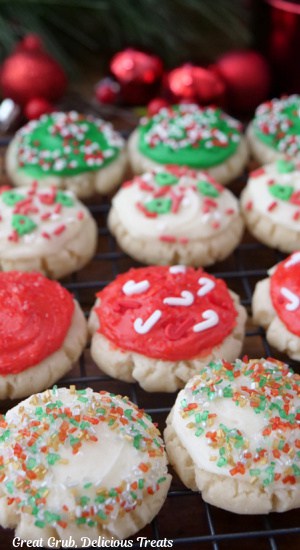
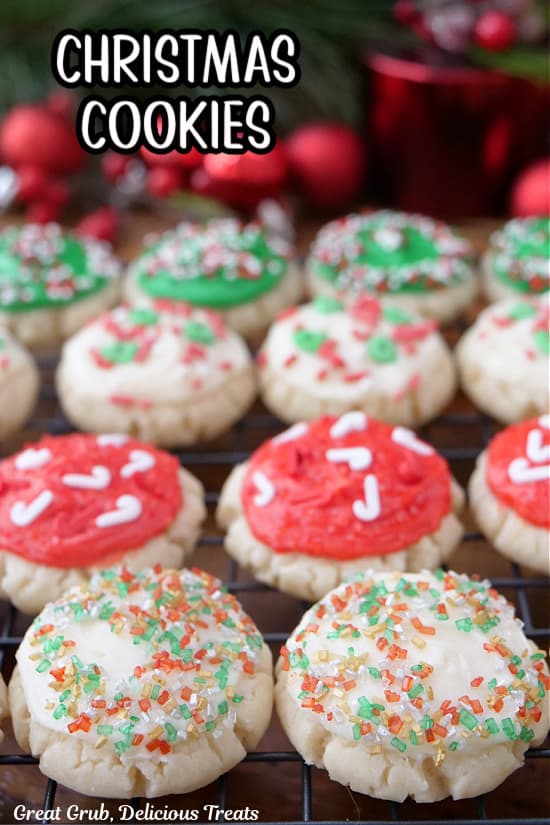
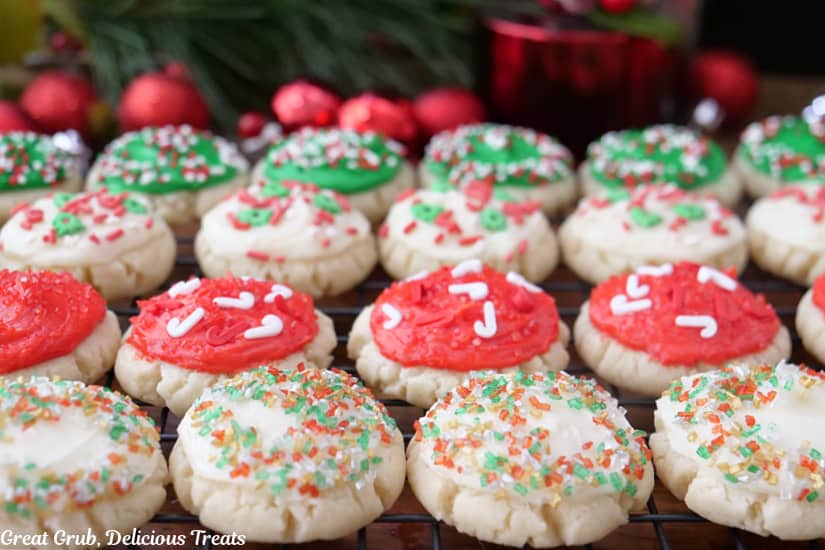
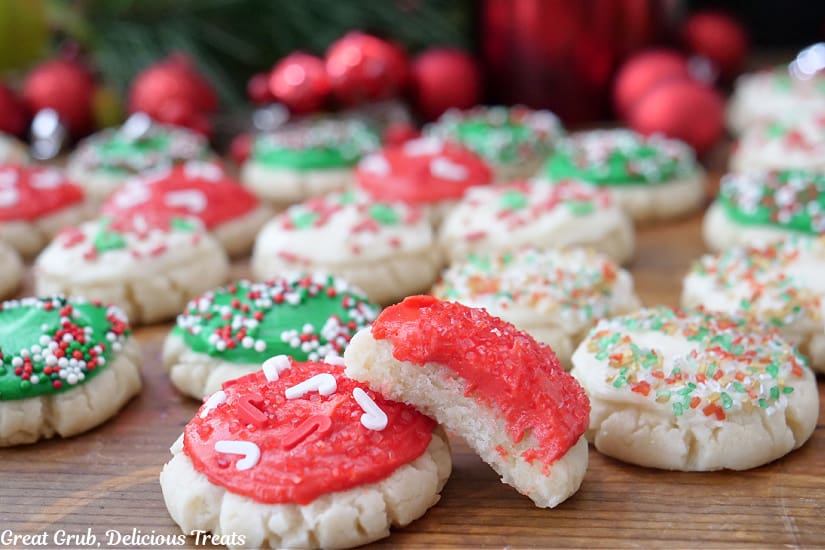
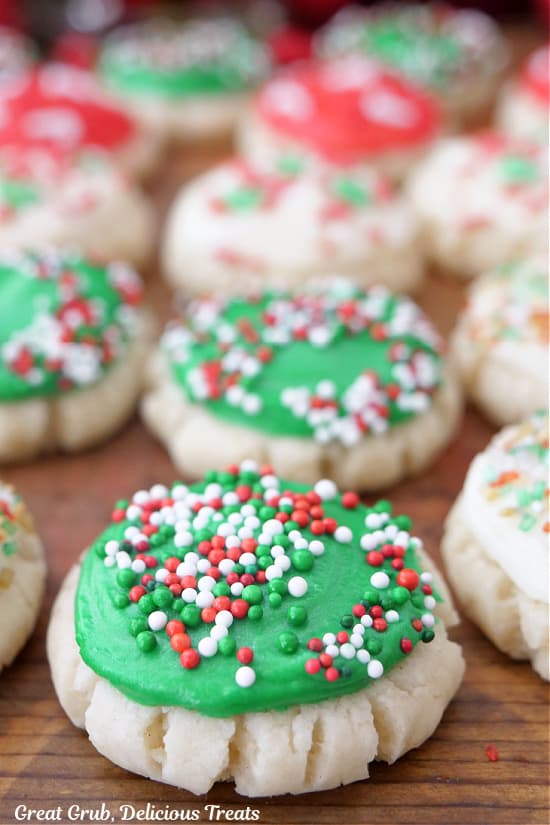
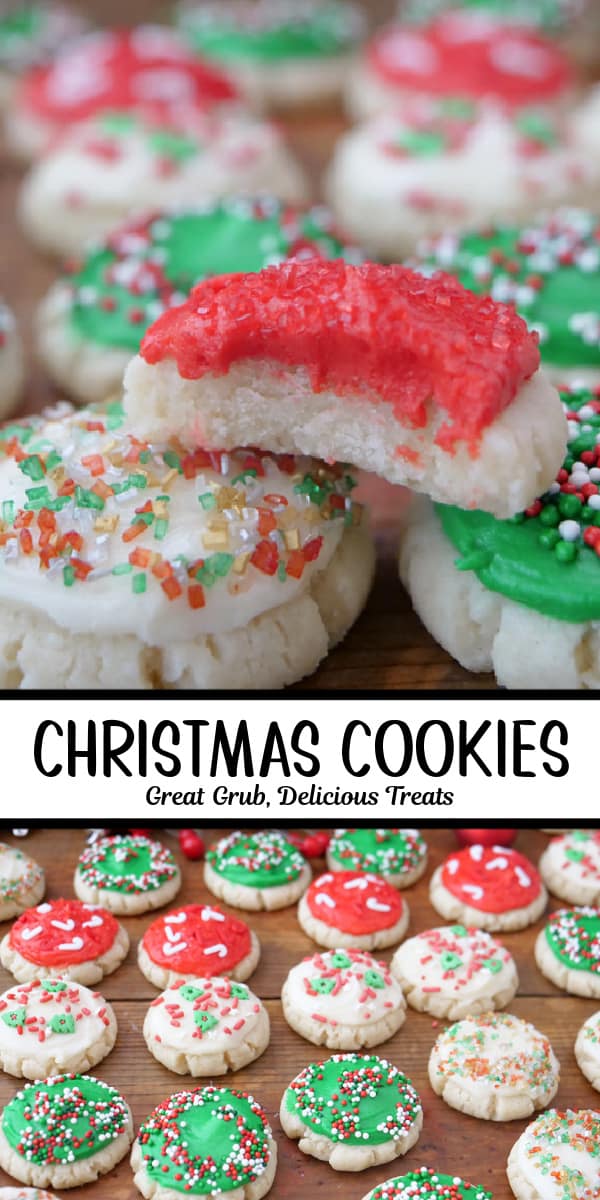
Christmas cookies are a favorite holiday treat and are decorated with colorful red, white and green buttercream frosting and holiday sprinkles that bring in the holidays. They are easy to make at home and great for holiday cookie exchange parties, potlucks, or adding to the dessert menu during all the holiday functions.
I’m a big fan of cookies. They’re the perfect addition to any event, and they make great afternoon snacks. Plus, they’re usually very easy to make, which is always a plus. These particular cookies are some of my favorites to make when the Christmas holiday season rolls around. I’ve also been known to change up the frosting and serve them for other holidays and special occasions, as well.
Christmas Cookies
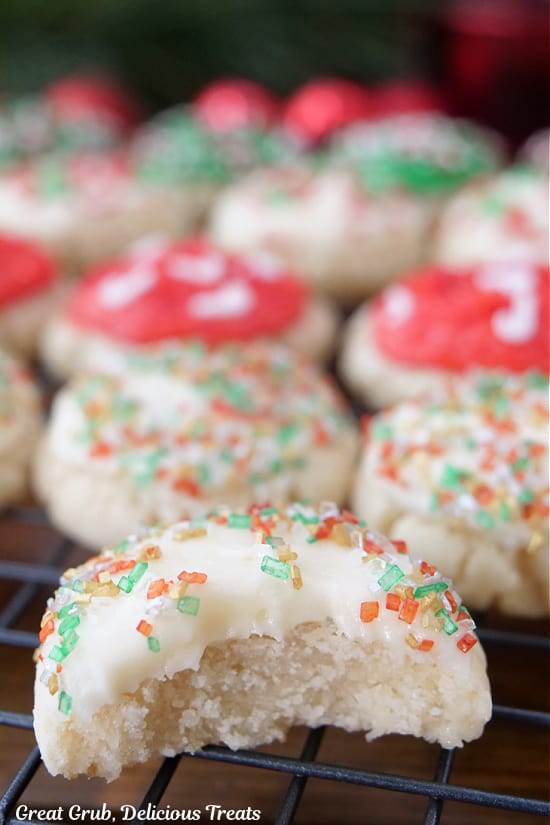
These delicious cookies start with a simple sugar cookie dough that bakes up super soft and chewy thanks to sour cream. Then, I top them with buttercream frosting and holiday sprinkles for a festive look. And that’s it! That’s all there is to it. It takes next to no effort, and the cookies are absolutely delicious. Their small size makes them as fun as they are delicious, and they always go fast.
Why You’ll Love This Christmas Sugar Cookie Recipe
- They are small and are the perfect size for a quick snack or dessert, and they are easy to share with family and friends.
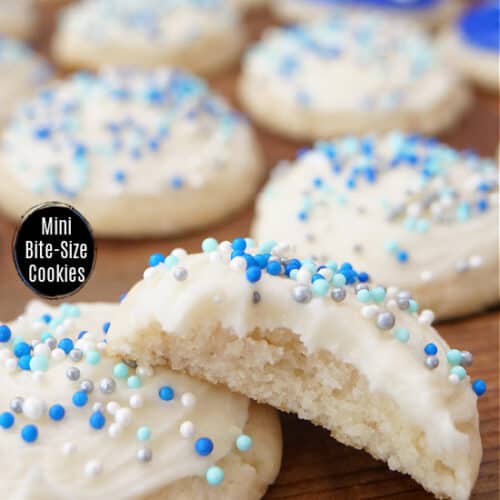
- They’re so festive and are perfect for the holiday season, decorated with buttercream frosting and candy sprinkles.
- They are so delicious and the frosting and candy sprinkles add a nice sweetness and crunch to the cookies.
Christmas Cookies Ingredients
This recipe uses simple ingredients, and most of them are probably in your kitchen right now. Anything you don’t have can be easily found at your local grocery store.
- All purpose flour
- Baking powder
- Salt
- Butter
- Vegetable oil
- Sour cream
- Sugar
- Vanilla extract
- Powdered sugar
- Milk
- Red and green food coloring
- Holiday sprinkles
- Coarse sugar
How to Make Bite-Sized Christmas Cookies
Making these cookies is a snap. Like any cookie recipe, it just takes a little mixing and baking. The frosting is so easy, too. Even beginners will have no problem with this recipe.
Step 1: Prep
Preheat the oven to 350 degrees and lightly grease a baking sheet(s). Set aside.
Step 2: Combine the Dry Cookie Dough Ingredients
Whisk the flour, baking powder, and salt together in a medium bowl.
Step 3: Combine the Wet Cookie Dough Ingredients
In a large bowl, beat the butter, oil, and sour cream for 1 minute on medium speed using a hand mixer. Then, add the sugar and vanilla and beat until smooth.
Step 4: Make the Cookie Dough
Add the dry ingredients to the wet ingredients and mix on low speed just unit the dough forms a ball.
Step 5: Place and Flatten
Roll the dough into ¾-inch balls and place them on the prepared baking sheets. Then, spray the bottom of a glass with non-stick spray and gently press each cookie to flatten them a bit.
Step 6: Bake
Bake for 8 minutes. Then, remove them from the oven and let them cool on the cookie sheet for 5 minutes. Transfer the cookies to a wire rack to cool completely.
Step 7: Make the Frosting
Cream the butter, milk, and vanilla together in a medium mixing bowl. Gradually add the powdered sugar, beating until smooth and creamy.
Step 8: Add Food Coloring
Divide the frosting into 3 bowls. Add red food coloring to one bowl, green food coloring to another bowl, and leave the frosting plain white in the third bowl. Add additional food coloring to achieve your desired color intensity.
Step 9: Frost the Cookies
Once the cookies have cooled completely, frost them with a generous amount of frosting, then, sprinkle with festive holiday sprinkles.
Recipe Tips
- Mix the cookie dough just until a ball forms. Don’t overmix or the cookie will be tough.
- Let your cookies cool completely before adding frosting, or the frosting will melt as it touches the warm cookies and slide off.
- For chewy, perfectly cooked cookies, it’s important that you remove them from the oven after 8 minutes and give them a full 5 minutes to cool ON the baking sheets.
Variations
- Add any food coloring you like to the frosting to fit any holiday.
- If you don’t have sour cream, you can use full-fat Greek yogurt. The taste and texture are almost identical.
- For a delicious twist, try adding toffee bits to the cookie dough.
What to Serve with Christmas Cookies
These delicious cookies are perfect with a glass of milk or a cup of coffee or tea. They also make a great addition to a larger holiday treat spread, pairing will with all your favorite sweet treats like cupcakes, cake, pie, and other cookies.
Recipe FAQ
The most popular Christmas cookie in America, according to total internet pageviews from the U.S. population as well as the number of states that ranked it as their top cookie, is the peanut butter blossom.
There are 3 cookies that consistently rank highest as holiday favorites. They are sugar cookies, gingerbread, and peanut butter blossoms.
They’ll keep for about 4 days at room temperature, a week in the refrigerator, or up to 3 months in the freezer.
Absolutely. Christmas cookies freeze very well and will last for up to 3 months when stored properly.
How to Store Leftover Christmas Cookies
Let the frosting set up completely. Then, place the cookies in an airtight container in single layers separated by parchment paper. Store them in this way for up to 4 days at room temperature, up to a week in the refrigerator, or up to 3 months in the freezer.
Try These Delicious Christmas Cookies Today
These delicious Christmas cookies are as easy and pretty as they are tasty. With a chewy sugar cookie base and rich, buttercream frosting, these cookies are always a hit at any holiday gathering. And because the frosting is what makes them holiday-themed, you can change up the color to suit any holiday or special occasion throughout the year. Give these cookies a try, and I know they’ll be a permanent part of your cookie recipe collection.

More Delicious Holiday Recipes You’ll Enjoy

These Christmas Sugar Cookies are a family favorite cookie that have been made every year for the past 40+ years. This is a recipe I received when I was 12 years old and I have been making them forever. It’s a family tradition that has been carried on with such great memories and family fun. I hope you and your family love these cookies as much as we do.

Christmas Cookies (Mini Bite-Size Cookies)
Ingredients
For the Cookies
- 4 ½ cups all purpose flour
- 1 teaspoon baking powder
- 1 teaspoon salt
- ½ cup butter softened
- ½ cup vegetable oil
- 1 cup sour cream
- 1½ cups sugar
- 1½ teaspoon vanilla extract
Buttercream Frosting
- 3 cups powdered sugar
- ½ cup butter
- 3 tablespoon milk
- 1 ½ teaspoons vanilla extract
- Red and Green food coloring
- Holiday sprinkles
- Coarse sugar
Instructions
- Preheat the oven to 350° and lightly grease a baking sheet(s).
For the Cookies
- In a medium bowl, whisk flour, baking powder and salt together. Set aside.
- In a large bowl, beat butter, oil and sour cream together on medium speed using an electric mixer, or a stand mixer, for one minute.
- Add sugar and vanilla extract and beat until smooth.
- Add dry ingredients into wet ingredients and mix on low speed just until dough forms a ball.
- Roll the dough into about ¾ inch size dough balls and place on the prepared baking sheets.
- Spray the bottom of a glass with non-stick cooking spray and gently press each cookie to flattened them a bit.
- Bake for 8 minutes.
- Remove cookies from the oven and let cool for 5 minutes and then remove and place on a wire rack to cool completely.
Buttercream Frosting
- In a medium mixing bowl, cream butter, milk and vanilla together. Gradually add powdered sugar and beat until smooth and creamy.
- Divide the frosting into three bowls. Add red food coloring to one bowl, green food coloring to another, and white frosting added to the third. Stir the food coloring and add additional food coloring to get desired results.
- Once cookies have cooled completely, frost cookies with a generous amount of frosting, then sprinkle with festive holiday sprinkles.
- Let the frosting setup then place cookies in a container for storing and place parchment paper in between the layers.
Notes
Nutrition
Follow us on Pinterest, Facebook, Instagram and YouTube. Remember to “like” or “follow” us on all social media. Here are a few pics that are perfect to save to your favorite Pinterest boards on Pinterest.